
DIY Tips for Maintaining an ADA-Compliant Bathroom


Understanding ADA Compliance
Ensuring that your bathroom is ADA-compliant is not just about meeting legal requirements; it's about creating a space that's accessible and comfortable for everyone. The Americans with Disabilities Act (ADA) provides guidelines to make spaces usable for all, including those with disabilities.
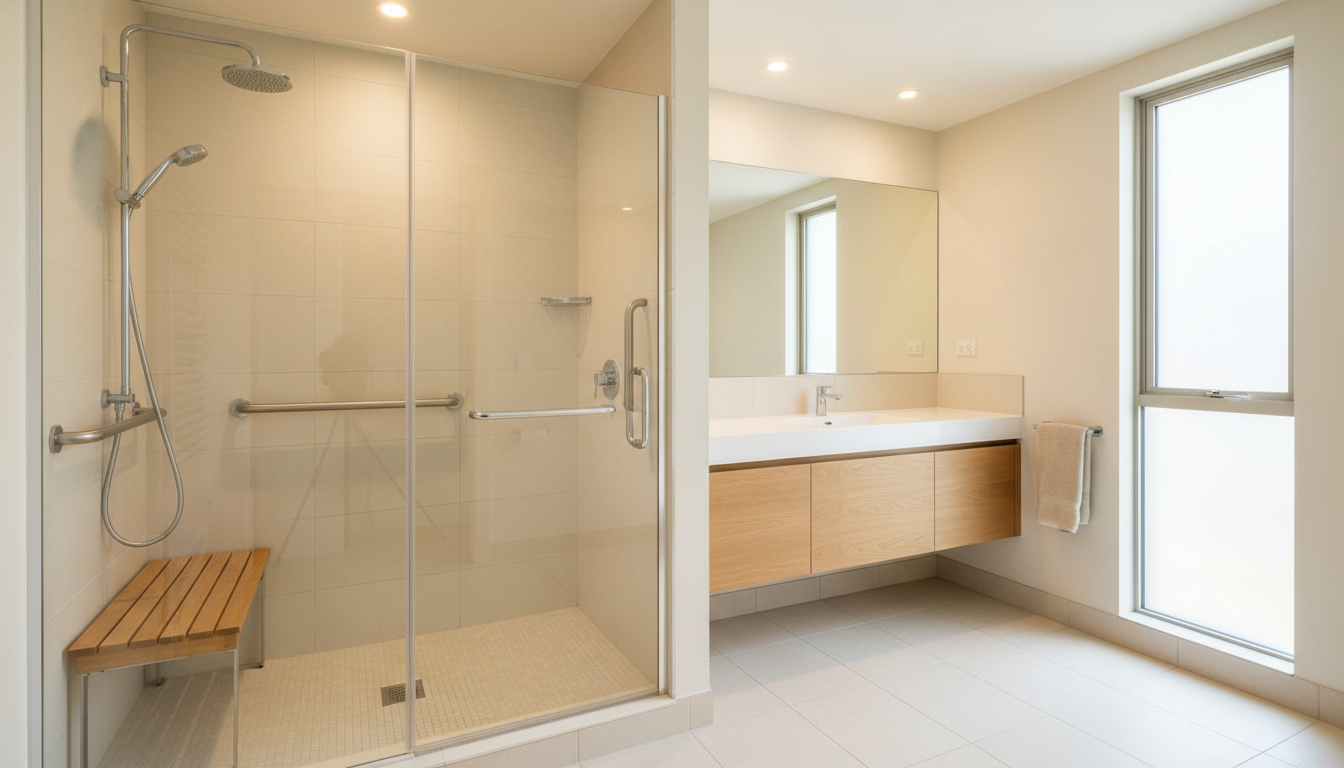
An ADA-compliant bathroom includes features that accommodate individuals with mobility challenges. This involves appropriate placement of grab bars, accessible sinks, and sufficient space for maneuvering. By following some simple DIY tips, you can maintain these standards effectively.
Installing Grab Bars
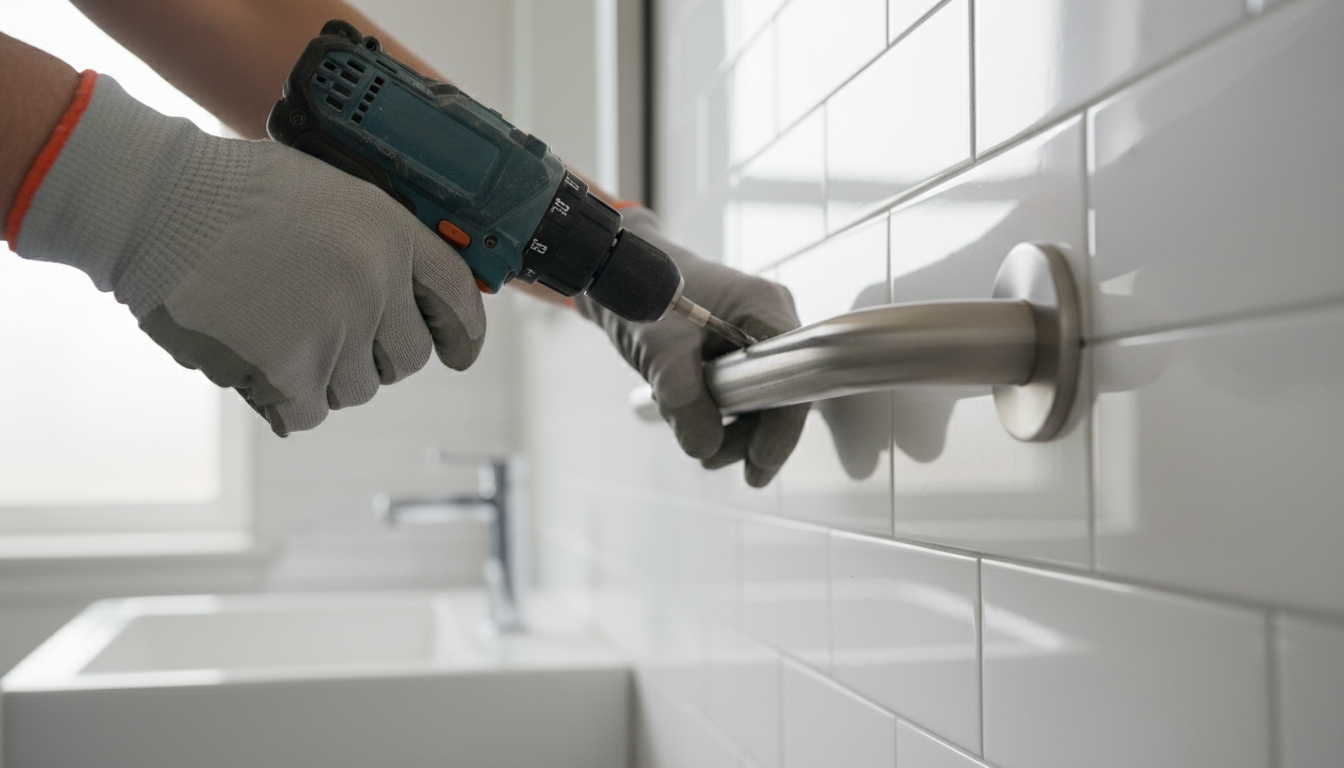
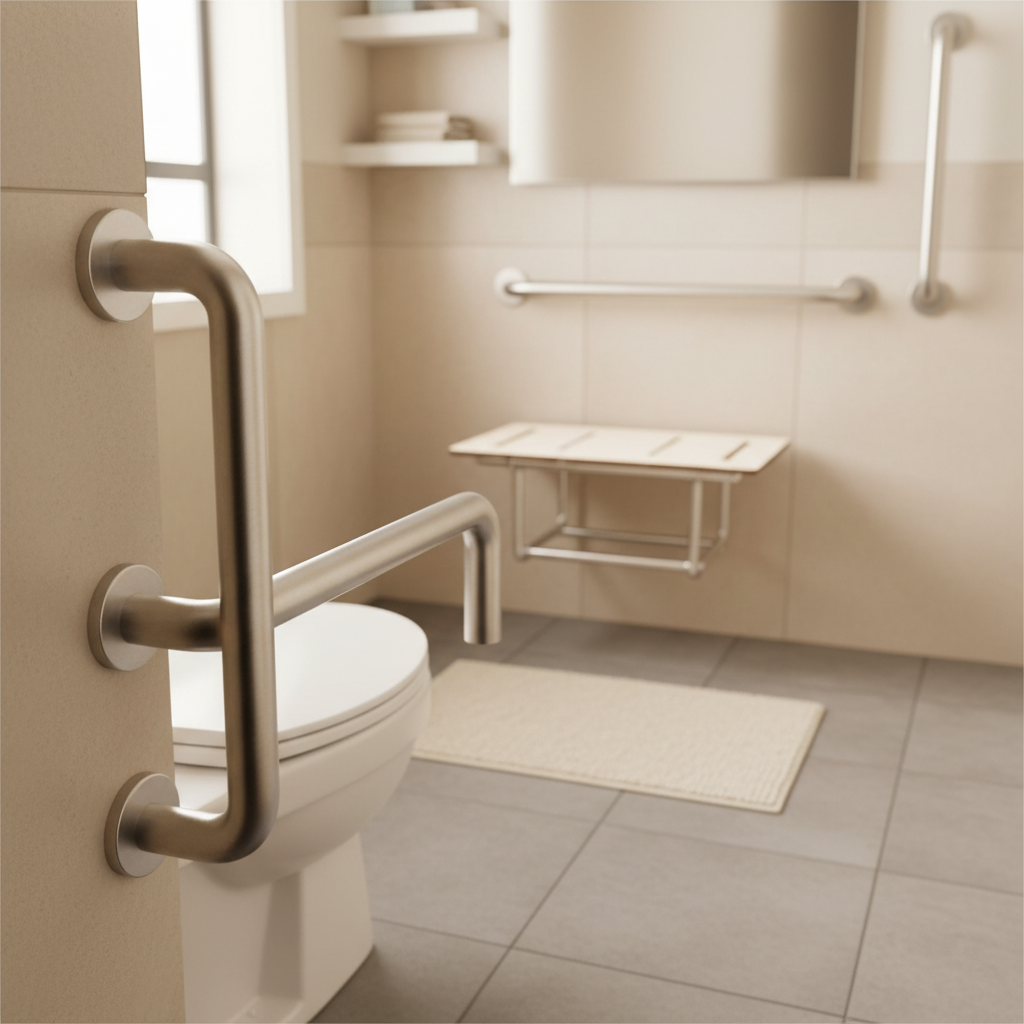
Grab bars are essential for safety and support. They should be installed near toilets and inside bathtubs or showers. The ADA specifies that grab bars must be installed 33 to 36 inches from the floor, ensuring they are within reach and provide optimum support.
When installing grab bars, make sure to anchor them into wall studs to ensure they can support the necessary weight. Use a level to ensure they are straight, and consider a slip-resistant finish for added security.
Adjusting Sink and Countertop Heights
Sinks and countertops should be accessible to individuals in wheelchairs. ADA guidelines suggest that the sink should be mounted no higher than 34 inches from the floor, with a knee clearance of at least 27 inches high, 30 inches wide, and 11 to 25 inches deep.
Consider installing a wall-mounted sink without a cabinet underneath to provide adequate knee space. Lever or sensor-operated faucets can also make the sink more accessible.
Ensuring Proper Doorway Width
The doorway to the bathroom should be wide enough to accommodate a wheelchair. ADA guidelines recommend a minimum width of 32 inches. If your door is too narrow, you may need to remove the door frame or install offset hinges to widen the opening.
Ensure door handles are easy to operate with one hand and do not require tight grasping or twisting. Lever-style handles are often the best choice for accessibility.

Lighting and Mirror Placement
Proper lighting is crucial in any bathroom, but it's especially important in an ADA-compliant space to ensure visibility and safety. Install lights that provide even illumination without harsh shadows. Consider using motion-activated lights for ease of use.
Mirrors should be installed with the bottom edge no more than 40 inches from the floor. This placement ensures they are usable for all, including those seated in wheelchairs.
Maintaining Safety and Comfort
Beyond these structural adjustments, consider additional features that enhance safety and comfort. Non-slip flooring is essential to prevent falls, and a shower seat can provide stability and support for those with limited mobility. Keeping the bathroom clutter-free also aids in easy navigation.
Regularly inspect all fixtures and fittings to ensure they remain secure and functional. Maintenance is key to sustaining accessibility and comfort for everyone using the bathroom.
Conclusion
Maintaining an ADA-compliant bathroom doesn't have to be overwhelming. By making thoughtful adjustments and staying informed about ADA guidelines, you can create a space that is both functional and inclusive. These DIY tips provide a starting point for creating a bathroom that meets the needs of everyone, promoting independence and safety in your home.